Instructions
In the interest of keeping this simple,
I suggest the following tools:
The Tools
Mobile Podcaster – $2.99
Sorry, but this is a necessity.
It records in the proper format and makes it easy to upload your interviews and photos. If you use anything else you’ll have to figure it out on your own. The website is also configured to accept and automatically configure posts in this format. Click here to order

Mobile Podcaster – iPhone – iPad or iPod
Double Interview Microphone – $11.99
It may be windy and noisy on the island, so clipping a microphone with a wind screen close to the interviewee’s mouth will make your recordings sound better. I don’t know if we’ll have the time or ability to do any post processing on files you upload. So invest in this or something similar if you can afford it. Order from Amazon here
This isn’t required. But recording will sound much better if you use this.

Double Interview Microphone
Configuration
Step One
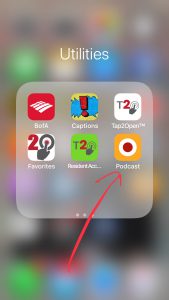
Go to the App Store and search for “Mobile Podcaster”.
Purchase the app and then open it.
Step Two
Open the app and click Settings.

Step Three
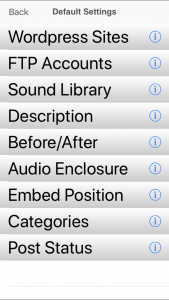
Most of the settings shown here will stay the same once properly configured.
Others, like Before/After and Description can be customized by you to add your own comments and and commentary to each interview you upload.
Step Four
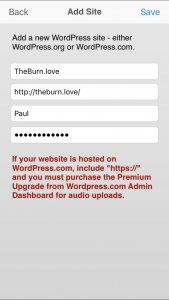
Once you have signed up to participate in this project and I upgrade your account to Author Status you will be able to post files to the website. But first you need to add the website as shown below. You’ll also use the Username and Password you chose when you signed up.
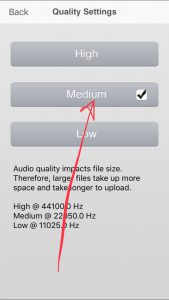
Step Five
In the Sound Quality section, Choose Medium. This will provide CD quality sound with files at a size that won’t crash your phone or the site on upload.
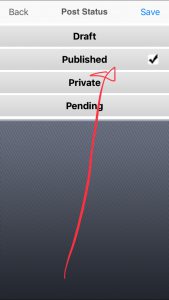
Step Six
The Post Status should be set to Published. We’ll do some test posts before the burn, so everyone can practice. But we’ll post them to a Test Category where website visitors won’t see. So no point in posting drafts, pending or private posts will just complicate the process of viewing and deleting those practice posts.
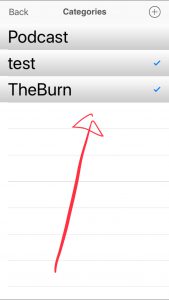
Step Six
Under the Podcast section, you’ll need to click the Plus sign in the upper right corner and add these two categories test and TheBurn exactly as done here. If you make a mistake, you can delete any category by sliding it to the left and then clicking the Delete button that will appear.
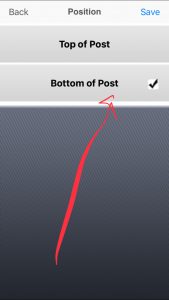
Step Seven
To avoid confusion, select Bottom of Post as the Position. This will ensure that the photo and text you upload will appear above the Audio Player in your posts.
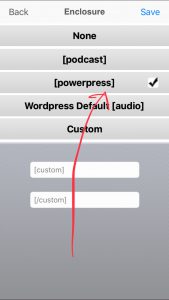
Step Eight
Finally, select Powerpress as the Enclosure. This will ensure your audio file gets properly integrated with the audio player on the website.